How to Unplumb a Washing Machine: A DIY Guide
To unhook a washing machine, first shut off the water supply and disconnect the power. Then, detach the hoses and drain them.
Detaching your washing machine starts with safety precautions—cutting off the power and water supply ensures a secure environment to work in. This common household task may seem daunting, but it’s a straightforward process. Before you begin, have a bucket and towels ready to catch any residual water.
Remember to keep the machine’s manual close by for specific instructions regarding your model. Understanding how to properly unplug and disconnect a washing machine is an essential skill for DIY enthusiasts and can save on professional service fees. Whether relocating your appliance or making room for a new one, this guide simplifies the process. With the right tools and a clear step-by-step approach, unhooking your washing machine can be a manageable and satisfying task.
Safety First: Preparing To Unplumb Your Washing Machine
Starting a project in your home, like unplumbing a washing machine, requires care and attention to safety. Avoid accidents by following a set of important steps. This guide will walk you through the necessary precautions, ensuring that you can disconnect your washing machine safely and efficiently.
Disconnect Power Supply
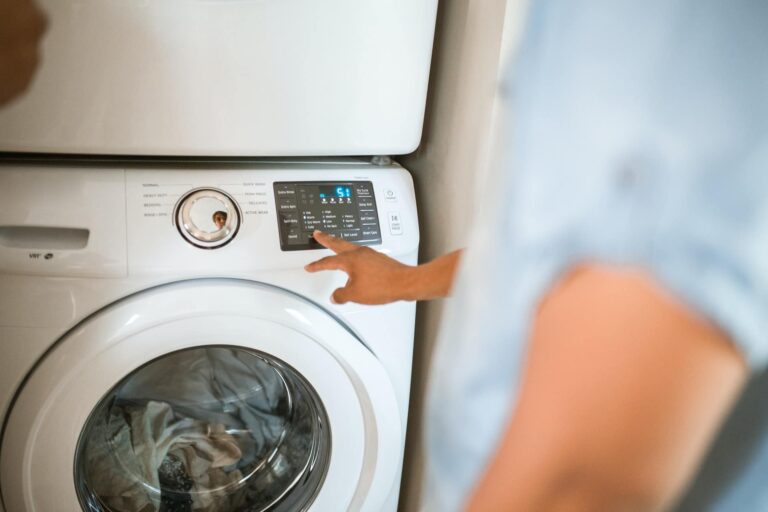
Before touching any parts of your washing machine, make sure to disconnect the power. Power can hurt you! Locate the washing machine’s plug and carefully pull it from the wall outlet. This step prevents any electrical hazards. Double-check that the machine is off by trying to turn it on.
Turn Off Water Sources
Water leaks can cause damage. Stop leaks by turning off the water sources. Locate the valves behind the washing machine. Turn them clockwise until they stop. This will stop water from flowing into your machine while you are working on it. Double-check that the valves are fully closed by trying to turn on the washing machine and checking for water flow.
Tools And Materials You Will Need
Preparation is key when disconnecting a washing machine. The right tools and materials ensure a smooth process. Understanding what you need avoids surprises and delays.
Gather Essential Equipment
Before you begin, collect all necessary items. Safety and efficiency are top priorities.
- Slip-joint pliers: For loosening pipe connections.
- Adjustable wrench: To tighten or loosen nuts and bolts.
- Bucket: For draining water from hoses.
- Old towels or rags: To clean up spills and drips.
- Sponge: For wiping down wet surfaces.
Optional Items For Convenience
Certain items, while not essential, can simplify the task.
- Moving blankets: To protect floors and the machine.
- Hand truck: For easy machine transport.
- Flashlight: To illuminate dark spaces behind the machine.
- Zip ties or twist ties: For securing loose cables.
Initial Steps: Access And Assess
Embarking on unplumbing a washing machine begins with clear-cut initial steps, aimed at guaranteeing a smooth and safe process. These first moves are crucial for both your safety and the well-being of your appliance. Treading carefully through the access and assessment phase sets the stage for an error-free unhooking of your household helper.
Position Your Machine For Access
Proper setup leads to successful outcomes. Prepare your space and position your washing machine strategically for easy reach. Simplify your task with these steps:
- Switch off the power supply to avoid electrical hazards.
- Clear the area around the machine for free movement.
- Gently slide the washing machine forward to expose the back.
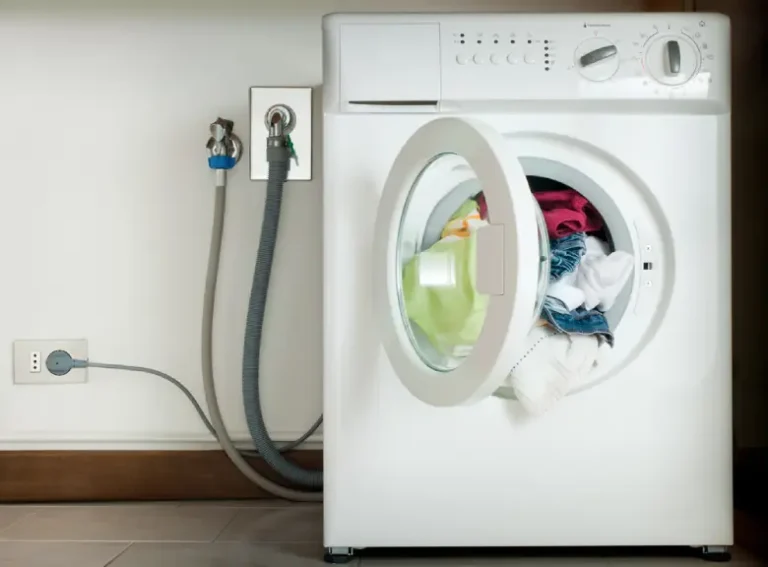
Inspect Water Inlet And Drainage Connections
Become familiar with the water lifecycle within your machine. An in-depth look at the fixture points averts water messes down the line.
| Connection | Location | Action Required |
|---|---|---|
| Water Inlet Hoses | Back panel | Check for tight fittings |
| Drain Hose | Lower section | Ensure it is clip-secured |
Spot any signs of wear or damage on hoses and connections. Ensure twist knobs are within reach and working properly. Identify shut-off valves to control water flow during the disconnection stages.
Disconnecting Water Supply Lines
Ready to move your washing machine? Start by disconnecting water supply lines. This means detaching cold and hot water hoses. Get prepared to manage any spillage or leaks too. Here’s how to tackle each step.
Detach Cold And Hot Water Hoses
Turn off the valves. Your machine has cold and hot water supply lines. Find the valves behind your washer. Rotate them clockwise until tightly closed.
- Label the hoses if not color-coded. This avoids confusion later.
- Use pliers to loosen the connections. Be gentle!
Once loose, unscrew by hand and detach each hose. Keep a bucket nearby for any water left inside.
Managing Spillage And Leaks
Expect some water spillage. Don’t panic! Here’s a tidy approach:
- Place towels or a tray under hose connections.
- Unscrew hoses slowly to control water flow.
Dealing with leaks? Tighten connections a bit more or replace old washers. Keep your space dry and mess-free.
Removing The Drainage Hose
If you’re ready to move your washing machine, the drainage hose must come off first. It’s like unscrewing a lightbulb, simple if you know the steps.
This section will guide you through, ensuring no messes or water damage. Keep towels handy and let’s dive into the details!
Unhook from the Wall or Sink
Unhook From The Wall Or Sink
Start by locating the drainage hose at the back of your machine. It’s usually a thick, corrugated tube attached to your wall or sink.
- Turn off the water supply before you begin. Look for a faucet near the hose and twist it tight.
- Unclip or unscrew the hose from its securing position on the wall or under the sink.
- Have a bucket or bowl ready to catch any water left inside the hose.
Prevent Water Backflow
Prevent Water Backflow
The hose might have water that can flow backward. So, we need to prevent that.
- Lift the hose’s end higher than the machine’s water level to stop water from coming out.
- Drain excess water into the bucket or bowl you’ve prepared.
Once you’ve done these steps, your machine is ready to move, free from messy leaks!
Credit: ethoscarcare.com
Final Checks And Cleanup
Successfully unhooking a washing machine calls for final steps. Ensuring everything is dry and clean prevents future issues. Let’s tackle these together to wrap up the project neatly.
Inspect For Leftover Water Or Damage
Check for water that may have spilled during the disconnection. Use a torch or flashlight for better visibility. Look for potential water damages or leaks on and around the washing machine. Identify any loose parts or connectors. This is crucial to avoid water damage after the move. If you find damages, note them for repair.
Tidy Up Your Workspace
- Mop up spills with a towel or sponge.
- Collect and dispose of debris such as lint or dirt.
- Return tools to their proper places.
- Coil the washing machine’s hoses neatly.
- Wipe down surfaces that got dirty.
Cleaning up leaves a safe area and makes reconnecting later much easier and faster.
Moving And Transporting The Unplumbed Machine
Preparing a washing machine for a move takes care. After unplumbing, move it safely to avoid damage. Here’s how to ensure a smooth transition.
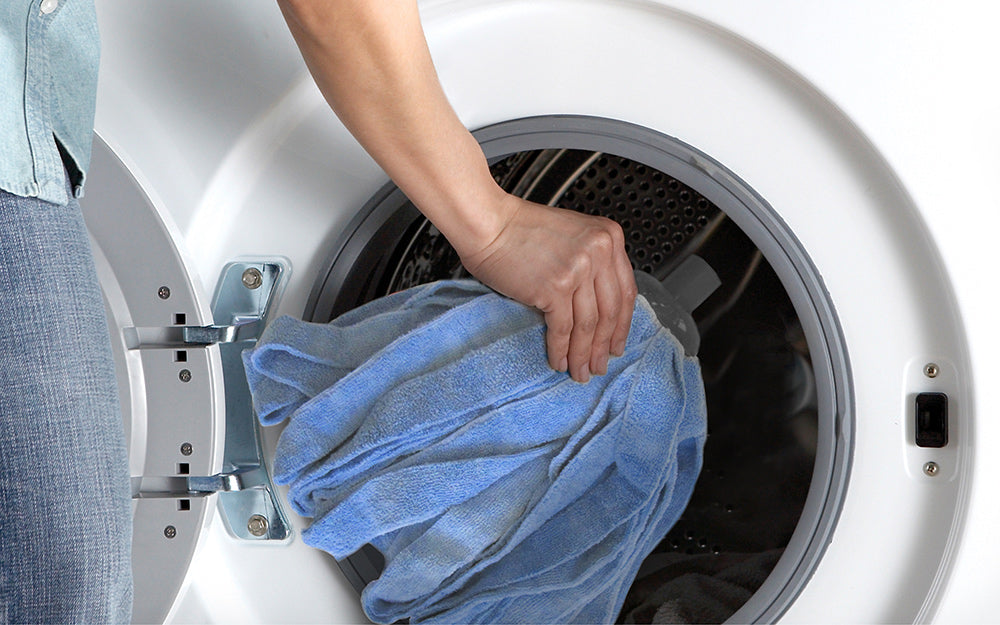
Secure Loose Parts
Loose parts can cause damage during a move. Taping down the lid or door prevents it from swinging open. Take out any removable trays or compartments. Wrap them in bubble wrap. Store them in a separate, labeled box. This will keep your washing machine stable.
Safe Lifting Techniques
- Bend at the knees, not the waist.
- Keep the machine close to your body.
- Get help to lift and move the washer.
- Use a dolly if available, securing the machine with straps.
Always use team lifting for heavy items like washers. This prevents injuries and protects the appliance.
Frequently Asked Questions On How To Unplumb A Washing Machine
Is It Easy To Unplumb A Washing Machine?
Unplumbing a washing machine is a straightforward process. You’ll need to shut off the water supply, disconnect hoses, and ensure proper drainage. Adequate care and the right tools make it manageable for most individuals. Follow the manufacturer’s instructions for the best results.
Is It Safe To Unplug A Washing Machine?
Yes, it’s safe to unplug a washing machine. Ensure the wash cycle is complete and the machine is off before disconnecting it from the power source. Always handle electrical cords with dry hands to prevent shock.
How Do You Plumb A Washing Machine?
To plumb a washing machine, first connect the cold water hose to the machine and faucet. Attach the drain hose to the machine and secure it to a drain pipe. Ensure all connections are tight and leak-free before use.
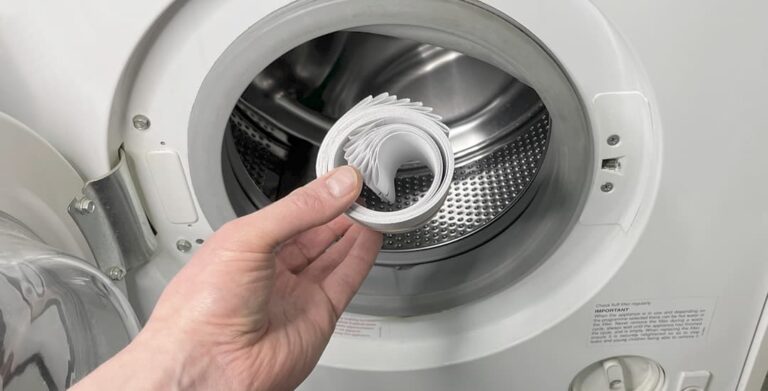
Can You Manually Drain A Washing Machine?
Yes, you can manually drain a washing machine. Locate the drain hose or access the pump filter, and then release the water into a container or drain. Always ensure the machine is off before starting.
Conclusion
Unplumbing your washing machine doesn’t have to be daunting. With the right tools and patience, you can tackle the task. Remember to always disconnect the power and water supply first. For further guidance, consult the manual or seek professional help.
Regular maintenance keeps your machine running smoothly and extends its lifespan. Your self-reliance will not only save you money but also instill a sense of accomplishment. Good luck with your next household project!